woensdag 31 juli 2013

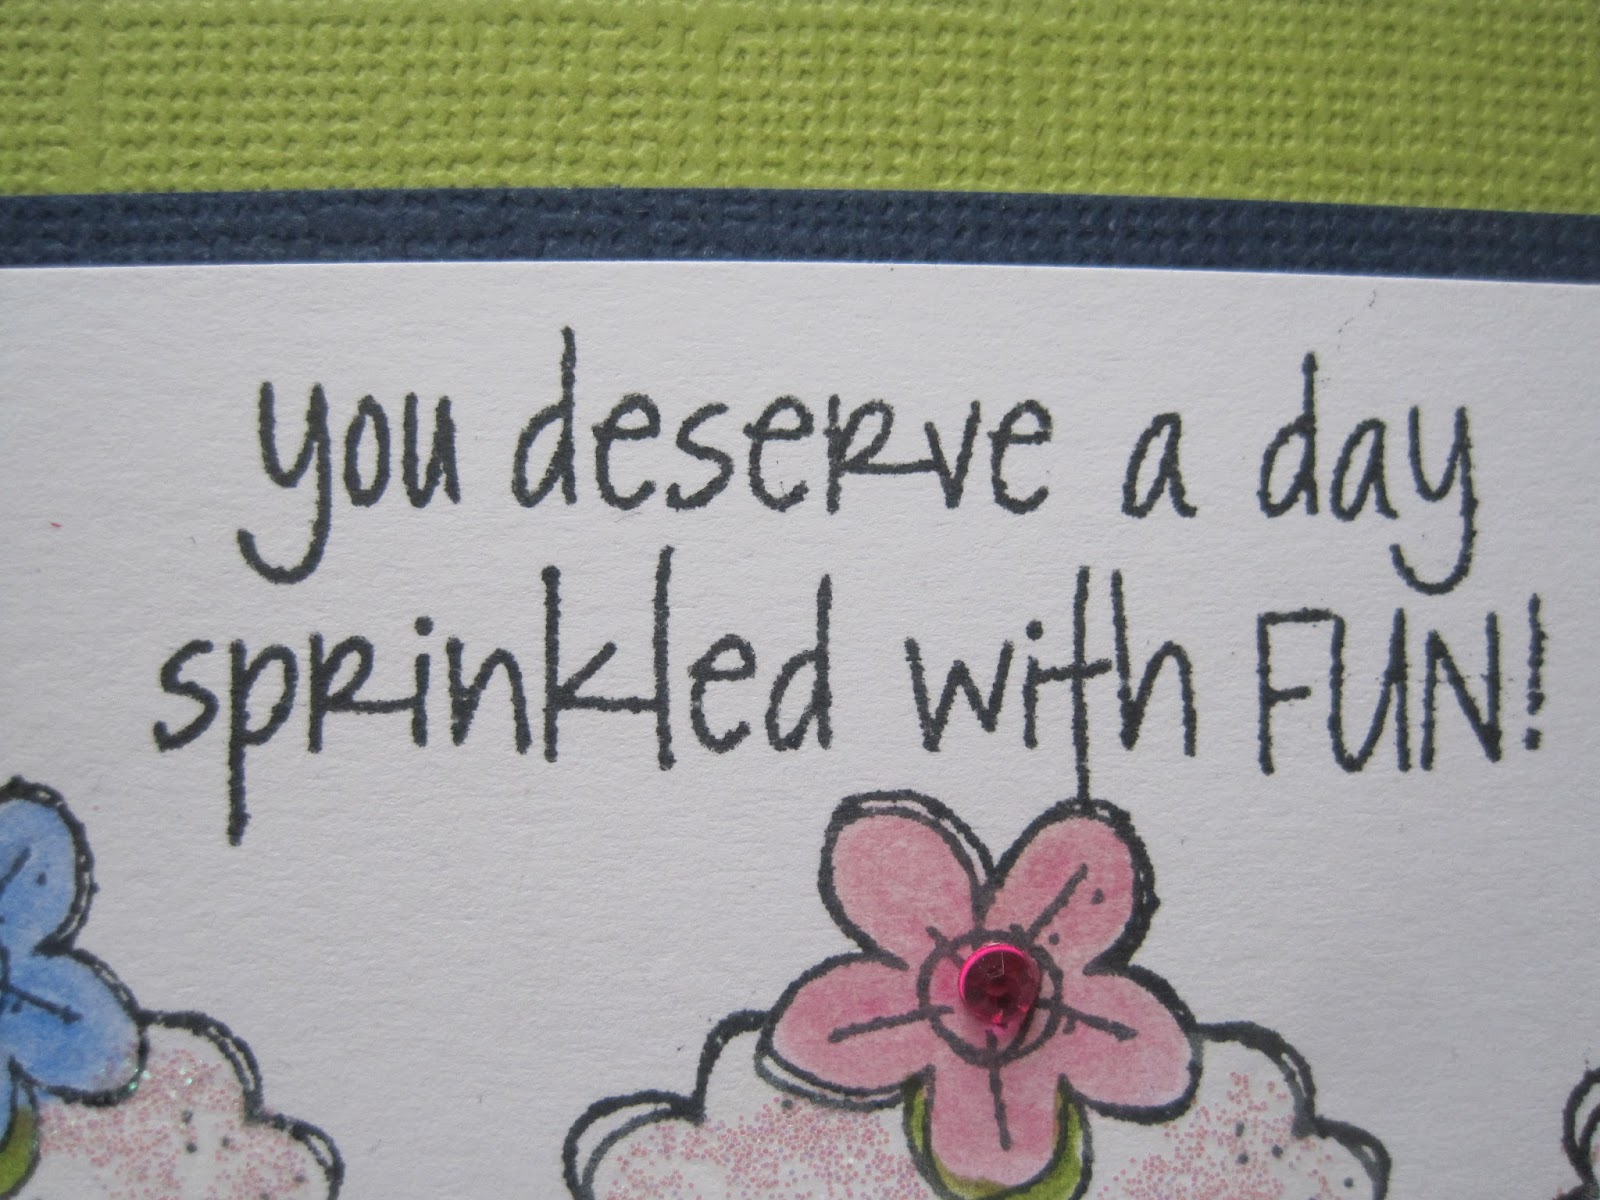
You deserve a Day sprinkled with Fun !


Een snel kaartje voor een jarige Job. Het is al een oudere stempel van Hero Arts. De stempel ingekleurd met Polychromo's van Faber Castell. Een gliter gel op de slagroom toefjes maakt het geheel extra feestelijk. Tenslotte wat strass steentjes in de bloemenhartjes geplakt.
 
A very quick card for a birthday girl. It's an older Clearstamp from Hero Arts. I coloured the image with Polychromo's from Faber Castell. I put a little glitter gel on the whipped cream and glued a little gemstone in the flowerhearts. 


dinsdag 30 juli 2013

Postcard


Post Card..
 
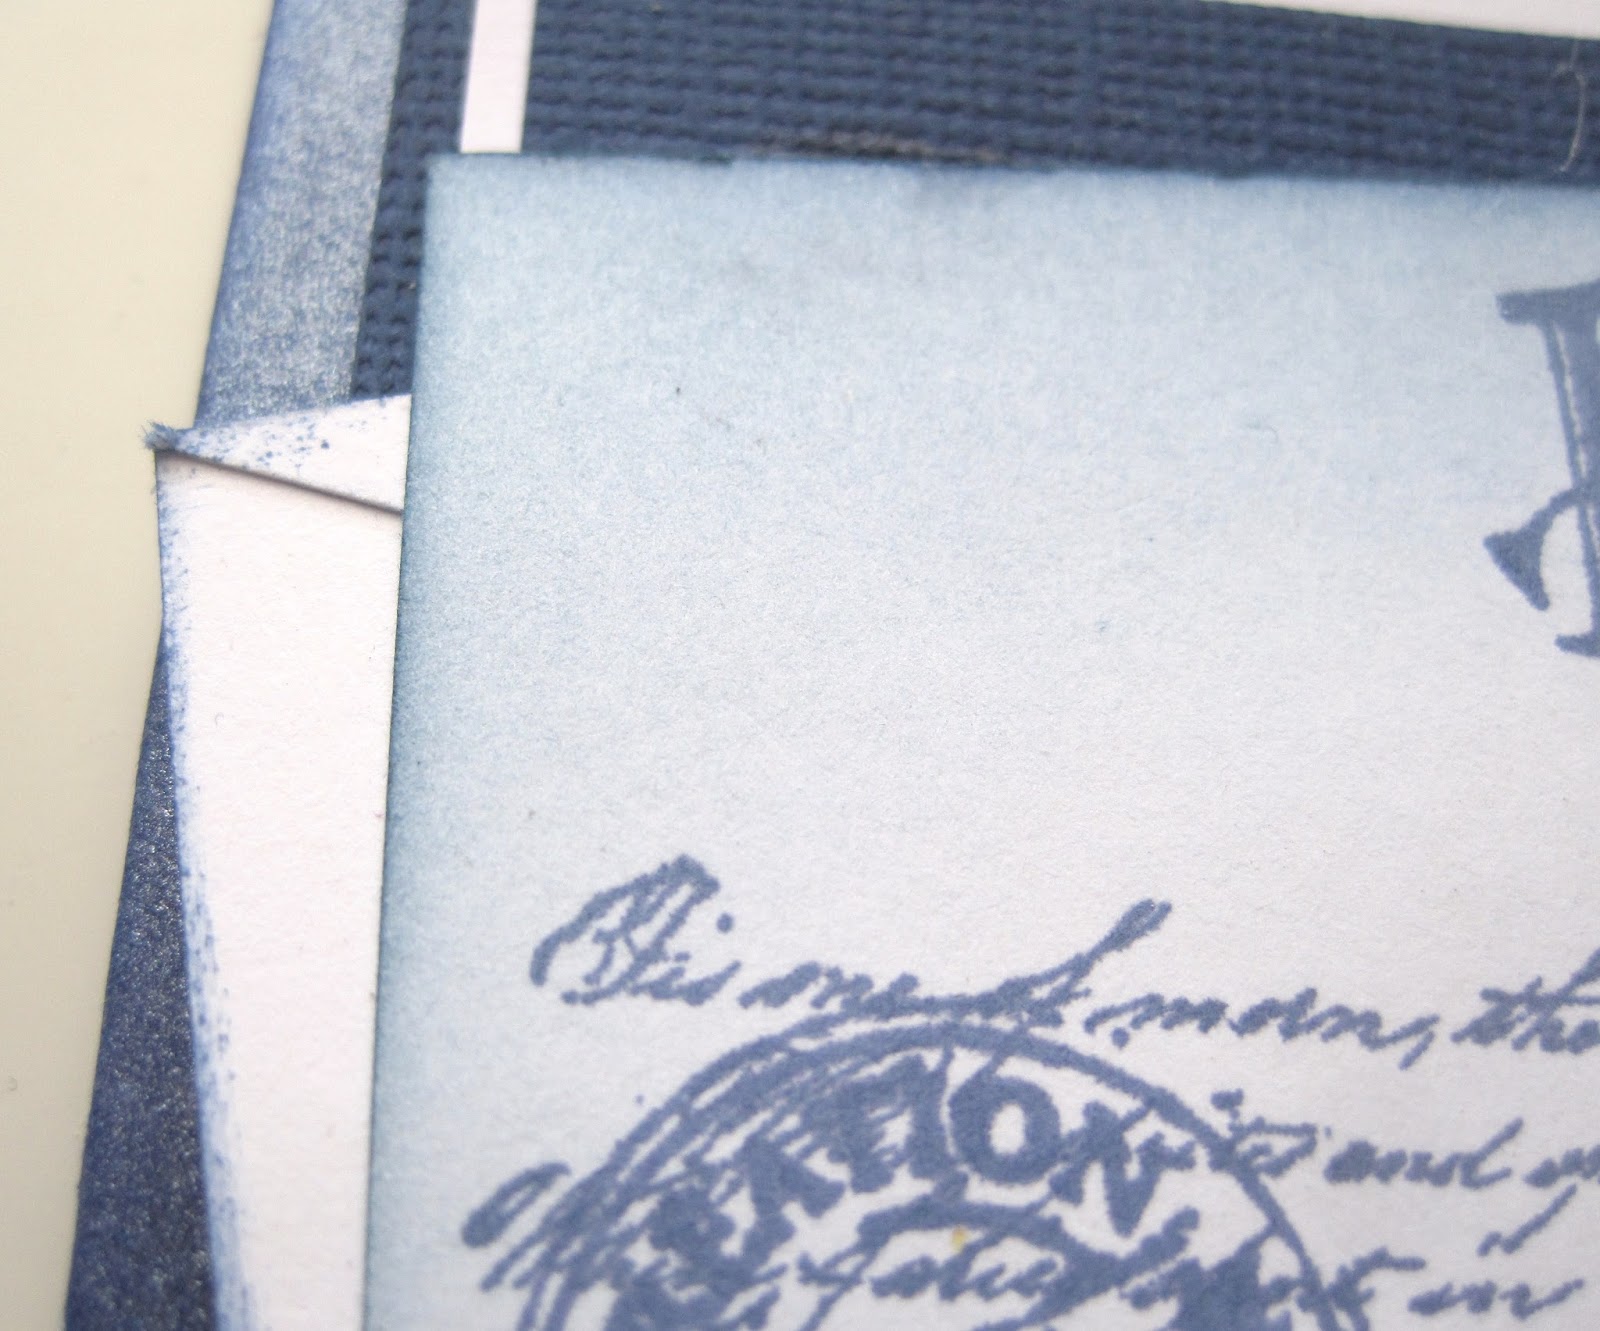
I made a postcard with the new Stamps from Art Journey Post Card.
Ik heb een echte postcard gemaakt met de nieuwe stempel van Art Journey Postcard.
 
 
I started with the stampframe and masked it. I stamped  ( all with Distress Ink Chipped Sapphire ) the ballerina face in it from the sheet Modern 2. I coloured it all a bit with a waterbrush.
 
Eerst een kaartje gesneden in de maat. Ik ben begonnen met het postzegel frame. Gestempeld met Chipped Sapphire en vervolgens gemaskerd. Daarna het gezichtje van het balletmeisje van de sheet Modern 2 erin gestempeld. Met de waterpenseel alles een beetje ingekleurd.


 Then a sponged the card with Distress ink Stormy Sky, For the rest of the card I used al lot of stamps. Used: lines from the sheet: Pages, Large text from the sheet: Text, Hand from the sheet: Hands, Ink drops from the sheets: Postcard and Pen Nib, Poststamp from the sheet: Postcard, ring and text Post Card from the sheet: Postcard, text a girl.. from the sheet Modern 2.
 
 Daarna de verdere kaart gesponst met Distress Inkt Stormy Sky. Verder heb ik veel verschillende stempels gebruikt op deze kaart.
Gebruikt: lijnen van sheet: Pages, Tekstvlak van de sheet: Text, Hand van de sheet: Hands,   Inktspatten van sheets: Postcard en Pen Nib, Poststempel van sheet: Postcard, ring en term Post Card van sheet: Postcard, tekst a girl.. van sheet Modern 2.


I made a fake enveloppe and placed it behind the postcard. I placed those those items in the stamped hand en glued it all together on a blue card.
 
I heb een nep envelopje gemaakt en achter de kaart geplakt. Deze twee plaatste ik in de hand en et totaal heb ik geplakt op een blauwe kaart.


maandag 29 juli 2013

Once upon a time...

 
Once Upon a Time...
 
With the beautiful new Stampsheet from Art Journey called Fairy Tail, I made this mysteriousfairytale like Card. At first a made a background with Pan Pastels. After that I stamped the mainpiece with Versamark en coloured it in with Pan Pastels.
 
Met de prachtige nieuwe stempel van Art Journey Fairy Tail heb ik een mysterieuze sprookjesachtige  kaart gemaakt. Errst heb ik een achtergrond gemaakt met Pan Pastels. Daarna de afbeelding gestempeld met Versamark en vervolgens de afbeelding ingekleurd met verschillende kleuren Pan Pastels.


After That I used a template from TCW ( mini micro Ball) to give it more accents. I stamped the text Once upon a Time with Distress ink Chipped Sapphire twice and cut parts of it in layers and glued it on with foamtape.
Daarna een template ( mini microball ) gebruikt om nog wat extra accentjes te zetten. De tekst Once upon a time 2x gestempeld met Distress ink Chipped Sapphire en in delen uitgeknipt en verhoogd opgeplakt met foamtape.
 

I stamped the spiderweb all arround the sides and top of the card with chppied sapphire and the bottom with versamark en Pan Pastels
 
 Het spinneweb heb ik boven rondom gestempeld met chipped sapphire en onderaan met Versamark en Pan Pastels. Tenslotte met een glitterpen wat accenten aangebracht om het sprookjesachtige effect nog wat te verhogen.


Butterfly Wishes in shades of Green


Butterfly Wishes in shades of Green
 
A card made with the new Stamp sheet from Art Journey: Butterflies.
Een kaart gemaakt met de nieuwe stempelsheet van Art Journey: Butterflies.
 
 
I've made a background with a techniek showed here. On this background I placed a template from TCW ( Mini Mariposas ) and sprayed water on it. Because of this water lighter butterflies appear.
 
Ik heb een achtergrond gemaakt met een techniek zoals ik hier beschreven heb.
Ik heb hierop een template op gelegd van TCW ( Mini Mariposas ) en bemist met water. Hierdoor onstaan lichtere vlinders op de achtergrond.


I stamped the butterflies on a background just like the one i used for the card and coloured them in with distress ink and water. After that I made some subtle accents with a glitter pen. I cut the butterflies out with a scissor and formed them with a pen. I glued them only in the back onto the panel, so they seems to live.. The text butterfliy wishes was stamped 2 times with distress ink Pine Needles,
 
De vlinders heb ik gestempeld op net zo'n achtergrond paper en heb ze verder ingeklurd met distress inkt en en water. Daarna heb ik subtiele accenten aangebracht met een glitterpen. Vervolgens de vlinders uitgeknipt en gevormd met een pen. Daarna opgeplakt in de rug van de vlinders zodat ze blijven "leven". De tekst butterfly wishes 2x gestemped met distress inkt Pine Needles.


zondag 28 juli 2013

Still my nr 1..


Still my nr 1...
 
With the new stampsheet from Art Journey Numbers Blockprint I made this card.
 Met de nieuwe Stempelsheet Nmbers Blockprint van Art Journey heb ik dit kaartje gemaakt.
 
 
I stamped the image two times with Versamark and embossed it with black embossingpowder.
 
Eerst heb ik 2x de stempelafgedrukt met Versamark en met zwarte embossingpoeder verhit
 
 
After that I used 4 colors of stains to make a cheerful colourpalet. I cut the stamped piece with the purple edge of the stains. I matt the piece with White cardstock and then once again with a piece of cardstock coloured with the same colour stains so that the colour would be just right for the card.
 
 Daarna heb ik 4 kleuren Stains gebruikt om een vrolijk kleuren palet te maken. Het gestempelde stuk uiteknipt met een paarse rand van de stains eromheen.en gemat op wit. daarom weer een matje gekleurd met stains zodat je de perfecte kleur krijgt.

 
I put a ribbon arround the panel and cut out the number One from the second stamp I've madeand glued it on a piece of white cardstock en wrote with a black marker the words: Still mu Nr above the number One. A few rhinestones and a punched heart complete the card.
Lintje eromheen gespannen en de nr 1 uitgeknipt van de tweede stempelafdruk dit op een wit stukje geplakt en gemat met zwart. met een fijn schrijver de tekst Still my nr erboven geschreven. Een paar strasssteentjes en en geponst hartje maken de kaart af.


maandag 1 juli 2013

Art Journey Challenge nr 35: Steampunk !

 
Steampunk
 
A New Month means a New Challenge and  it was the turn for our newest designteam member Joke to pick a new theme. She picked the theme Steampunk ! I used all of the three steampunk sheets from Art Journey in combination with Pan Pastels
 
Een nieuwe maand betekend een nieuwe uitdaging en ons nieuwste designteamlid Joke mocht het thema kiezen voor deze maand. Ze koos Steampunk als thema! Ik heb alled drie Steampunk sheets van Art Journey gebruikt in combinatie met Pan Pastels.
 
 
I've made this card to inspire other stampers. I took 4 pieces of biobook paper and coloured them in four different colours Pan Pastels. On those pieces I stamped the same Stamp with Versamark and coloured it with deeper colourtones from Pan Pastels.
 
Ik heb deze kaart als inspiratie gemaakt. Ik heb 4 stukjes biobook bewerkt met pan pastels in 4 kleuren. Daarop stempelde in dezelfde stempel met Versamark en heb dat weer bewerkt met donkere kleuren Pan Pastels
 
 
I stamped the images and the words on plain biobook papier with StaZon Midnight Blue. I coloured the images again with Pan Pastels and cut them all out and glued them on the panels with foamtape.The text we're glued on the panels with normal tissuetape. I matted the panels on a lighter green panel and then all together in a darker green card.
 
De afbeeldingen en de teksten heb ik gestempeld op biobook met StaZon Midnight Blue. De afbeeldingen heb ik weer ingekleurd met Pan Pastels en heb ze opgeplakt met foamtape. De teksten heb ik gestempeld op biobook en gewoon opgeplakt met tape. De 4 paneeltjes heb ik opgeplakt of een licht groene ondergrond en het geheel op een donkergroene kaart geplakt.


zondag 2 juni 2013

Calming Water

 
Calming Water 
 
                       A new month means a new Challenge. Godelieve picked a fun the theme  for this month's Challenge: Water. She wants you to use a technique with water on your card/project. Keep in mind to use mainly Art Journey stamps. You can find very inspiring ideas on the Art Journey Designteam Blog.
 
Een nieuwe maand betekend een nieuwe uitdaging en Godelieve  heeft een leuk thema bedacht voor deze maand: Water. Ze vraagt een techniek met water te gebruiken op je kaart / projekt. Houd in de gaten dat je wel hoofdzakelijk Art Journey Stempels moet gebruiken.. Je kunt meer mooie inspirende voorbeelden vinden op het designteamblog van Art Journey.
 
 
I've made a card to inspire you. I'll show you the technique by photo's and text.
Ter inspriratie heb ik een kaart gemaakt. Ik zal de techniek laten zien dmv foto en tekst.


At first I wet the paper with water and in the still wet Paper I dropped some refill ink drops on the paper. On the ink drops I sprayed some more water, so they blend in eachother.
 
Ik ben begonnen met mijn papier helemaal nat te maken en daarin heb ik druppels refill distress inkt laten vallen.Vervolgens ben ik die druppels weer nat gaan sprayen met nog eens meer water.


When the colors perfectly blended in eachtother  I put a second layer of paper on top of the first and gave it a gently press. After that I took the second layer off. By the large amount of water and ink you can make a whole serie of background in one process. I dried them with a Heattool
 
 Als de kleuren mooi in elkaar zijn verlopen breng ik een tweede papier aan bovenop het eerste en druk het voorzichtig aan en haal het er dan weer vannaf. Door het vele water kun je een hele serie achtergronden tegelijkertijd maken. Daarna heb ik ze gedroogd met de heattool.


 I stamped the Fish with Distress Ink Pine Needles and the waterplants with Mowed Lawn.
Ik heb de vissen gestempeld met Distress Inkt Pine Needles and de planten/taken met Mowed Lawn.


The Fish were coloured in with a water and  brush and some Distress ink Salty Ocean.
De vissen zijn ingekleurd met water en een kwast en een beetje Distress Inkt Salty Ocean.
 
At least I dropped some waterdops on the card and dried it with a tissue paper. This gives lighter stains. And on these stains I put glossy accents so they seems to be airbubbels in the water.
 
Tenslotte nog wat waterdruppels laten valen hier en daar op de kaart en met een tissue het water weer gedept. Dit geeft lichtere vlekken. Deze vlekken heb ik weer bedekt met Glossy accents zodat het luchtbelletjes in het water lijken.


Vissen : Art Journey Fish
Geraamte vis: Art Journey Sea
Takken : Art Jiourney Tree